I think it's safe to say that most of us love Pottery Barn. However, for many of us Pottery Barn is a bit too pricey. So, when I saw their live ivy topiary bunnies at $79 and twig bunnies for $179 (very large bunnies), I knew I there had to be a less expensive alternative.
My less expensive version is a cross between the two Pottery Barn bunnies with a much lower price tag. The only downside is that this is a VERY messy craft*. You will be covered in moss bits and will need to break out your vacuum cleaner or broom after this project is done.
*If you are highly sensitive to dust or have respiratory issues, you may want to use a mask for this project.
Moss Covered Easter Bunny Tutorial
Supplies:
Make sure to use craft store coupons to save the most money on this project.
- Roll of moss mat
- paper mache bunnies
- glue gun & 4-5 glue sticks
- scissors
- ribbon
- fray check (optional)
Directions:
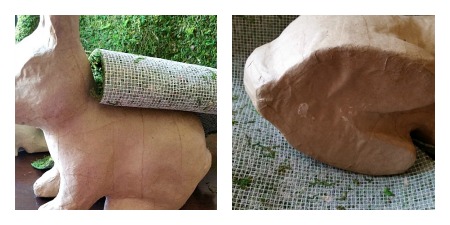
Gather your supplies. Unwrap the roll of moss mat and remove any paper backing that remains on the back.
Cut a strip of moss that is large enough to cover the back of the bunny from the neck to the bottom of the bum. I cut my sheet about 6.5 in. x 18 in. 
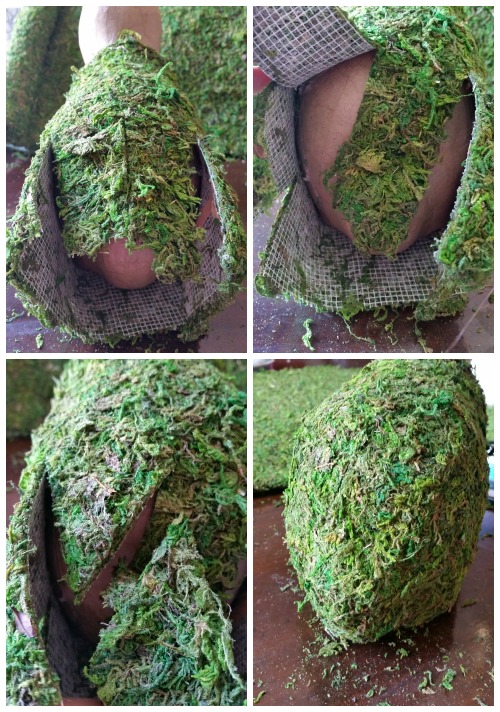
Glue* down the moss in sections. I started from the top of the back and worked my way down the sides and back.
*Don't use too much glue or it will seep through the moss. Use just enough to hold the moss mat down. If glue does start to seep through, use the moss bits that have fallen off to cover any glue that has seeped through.
When you get to the legs or any angles, cut a slit in the moss. Don't worry if you end up with odd shaped moss areas as this can easily be covered. The main thing is to be able to wrap the moss around the bunny and glue it down. 
Here are more pictures of how I covered the back of the bunny. Make cuts in the moss mat where you want to fold down and wrap around your form. Again, don't worry about odd seams as the seams will not show once the moss mat is glued into place.
Oh, and you see those tiny bits of moss that have fallen off? These are the bits you want to use to cover any glue that may have seeped through. Just grab a pinch and smash it down into areas where you feel glue coming through the moss mat. Also, don't throw out any moss mat scraps because you will need these to cover other areas on your form. 
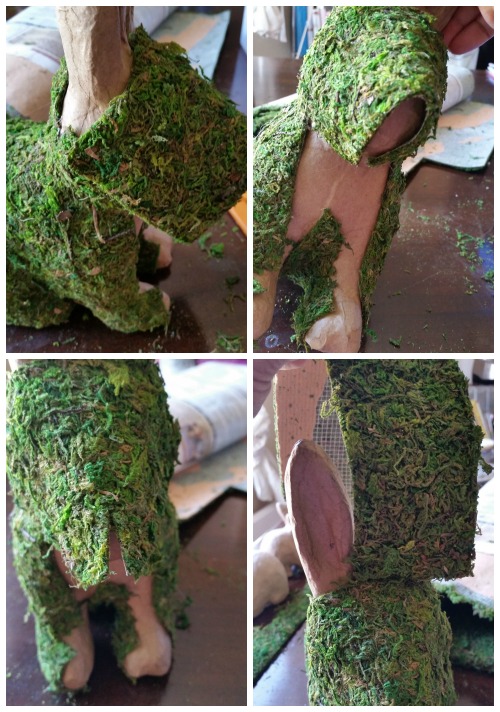
To cover the neck and front legs, I used a long 1.5 inch piece of moss mat. Again, cut the mat in areas that are rounded and curved to allow the mat to fit. I also used scrap pieces of moss mat to cover the odd shaped areas behind the neck. 
Continue to cut pieces of moss to fit around the face and ears of the bunny. Glue these pieces down.  Once the majority of the bunny is covered, there will be small areas that will need to be patched with the scrap pieces of moss mat. Cut pieces to fit into these areas and glue down.
  Cut ribbon and tie around the neck of the bunny. Optional - Apply fray check to the cut end of the ribbon to prevent fraying.
  Now dust yourself off and enjoy your new moss covered bunny!


