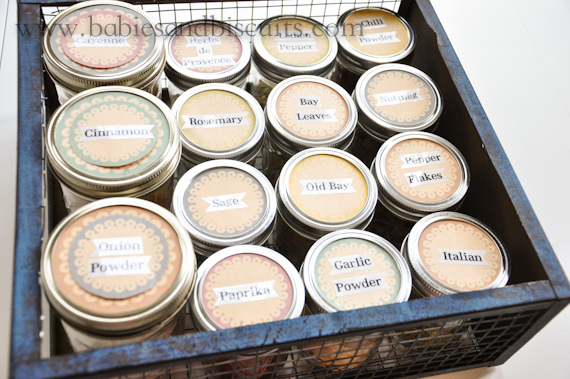
It’s widely understood around these parts that I like Mason Jars. Ok, maybe more likeLOVE them.
I even make layered cakes in them. If you missed that post, you can see it here.
Well, the other day, while going into my pantry to pull out things for dinner, I noticed my stash was overflowing. I can never bring myself to part with a mason jar, so I thought of something I could use them for. Then it dawned on me! I have been trying to clean out my lazy susan in the kitchen.
Since I didn’t want to spend any money doing that, I decided to make my own version of a “spice rack”/holder thingamajig.
SO! This is what I did:
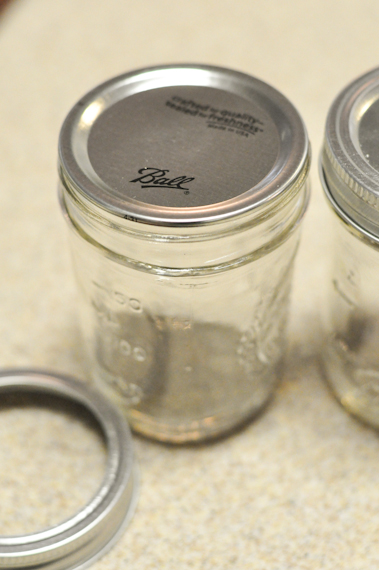
First, I took the mason jar…
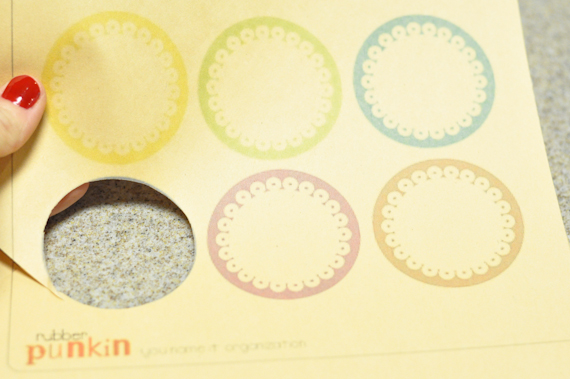
Then, I hopped online and searched free circular printables and found these. They were perfect size for the seals on the small jars I was using. My computer allowed me to size them this size and also slightly bigger.
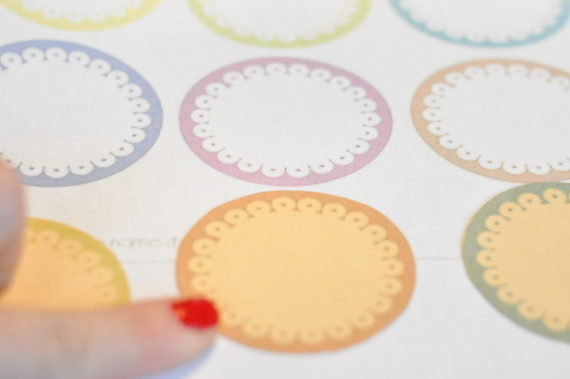
If you notice, I chose to put them on a slightly yellow tinted paper compared to white because I wanted the labels to have a vintage appearance on them. You could use any color you like though.
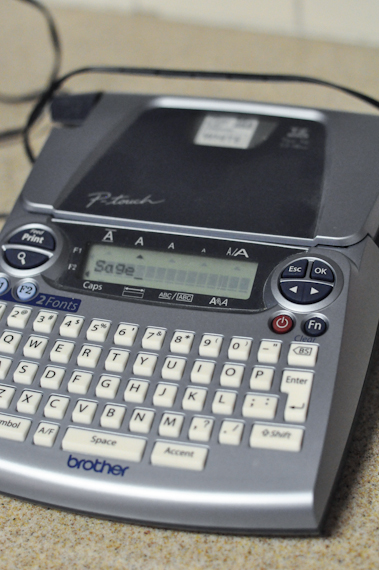
After cutting out the labels for the seals, I took my label maker and made each spice name I wanted to use. I decided to cut the ends in a banner like point to give it some flair.
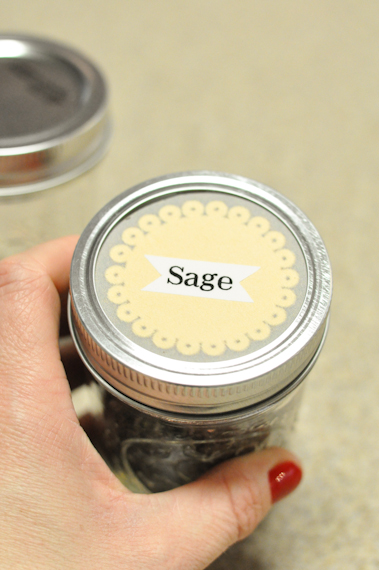
This was the end result.
But then, I needed something to put them in…….
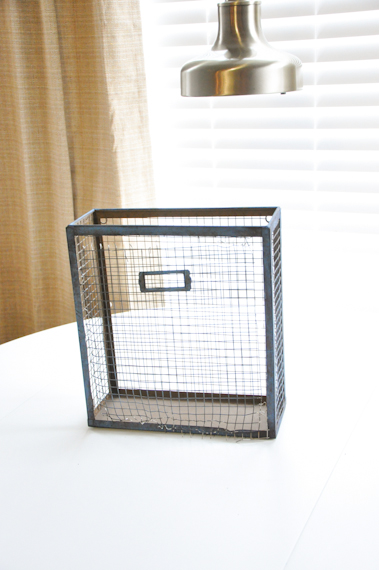
I had this metal thing I bought from Homegoods a while back and was planning on trying to sell it in a yard sale. I say thing because while I thought it was a good idea to buy it at the time, I just couldn’t find a permanent home for it. It held a few papers once, then was a shoe holder for my little man, and then just went into the yard sale pile.
So, I decided to give it one more try. Unfortunately, it just wasn’t a contender in it’s original state.
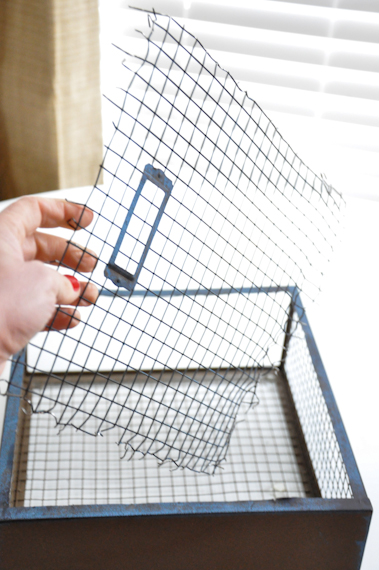
So, I laid it down and deconstructed it, a bit.
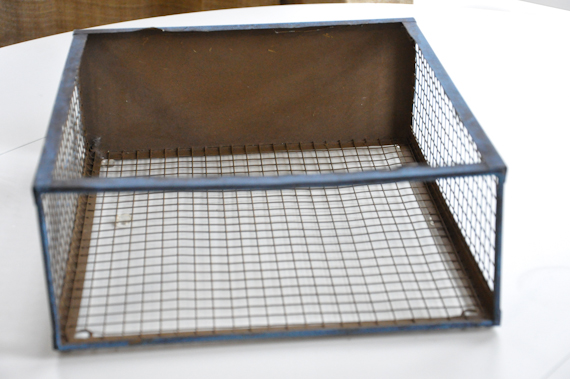
Ending up with this. I call it RUSTIC FLAIR! LOL!
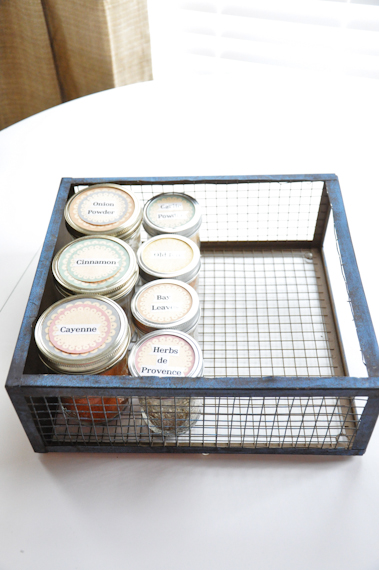
So, in the spices went.
Now, there are a few spices I use more of, so I thought it would be good to make their jars a little bit larger. Unfortunately, the labels in the original size were too small for their lids, so I doubled them up.
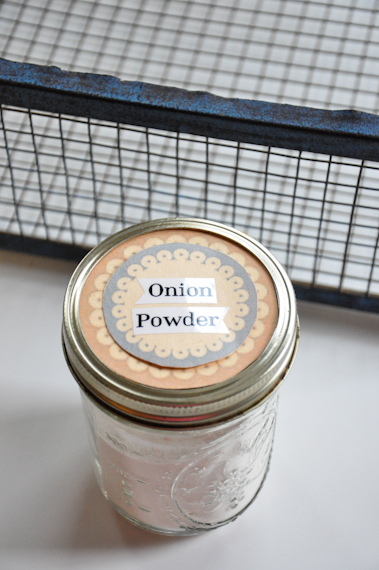
This was the end result.
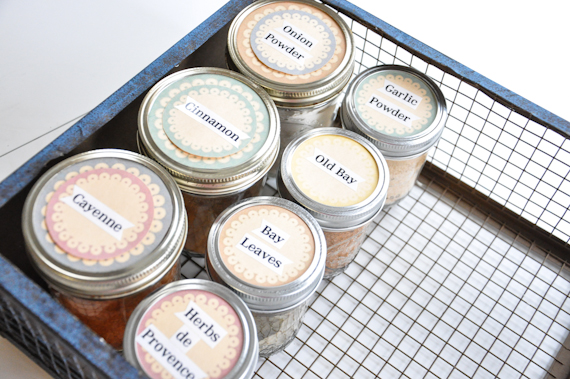
Now, I realize that one side of the basket, basically being the bottom of the holder, is a different color than the rest of the holder. Then you have the opening on the side of the holder that was originally the top, but I had a solution for that. Hee! Hee!
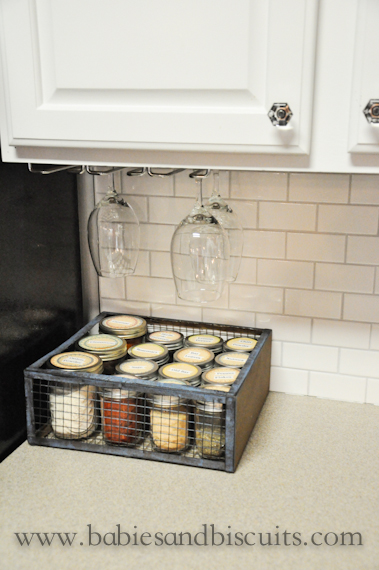
The opened side went up against the fridge (so you can’t see it, unless I point it out), and the other end just looks brown.
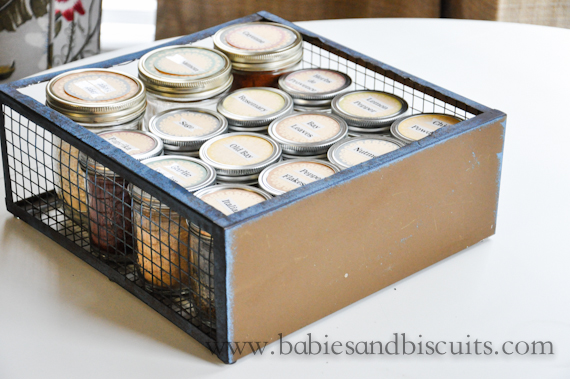
Yup! I’m just lazy like that. Of course, I could paint the brown side, but I kinda like it. If I end up not liking it in the future, I’ll probably paint it.
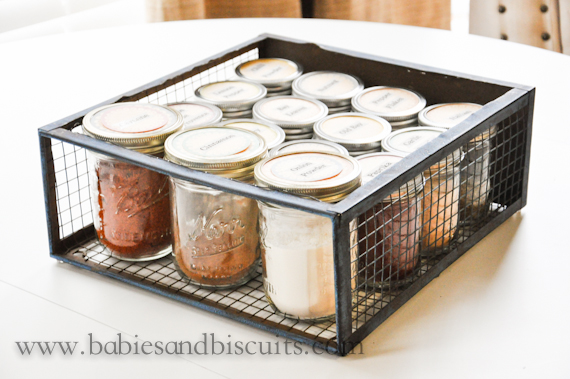
So there you have it. It really has been a nice addition to my kitchen. I thought about using the piece I cut off and piecing it on the opened side. However, you DO remember I said the word lazy, right?
Happy Weekend, Everyone!
XOXO,
Esther