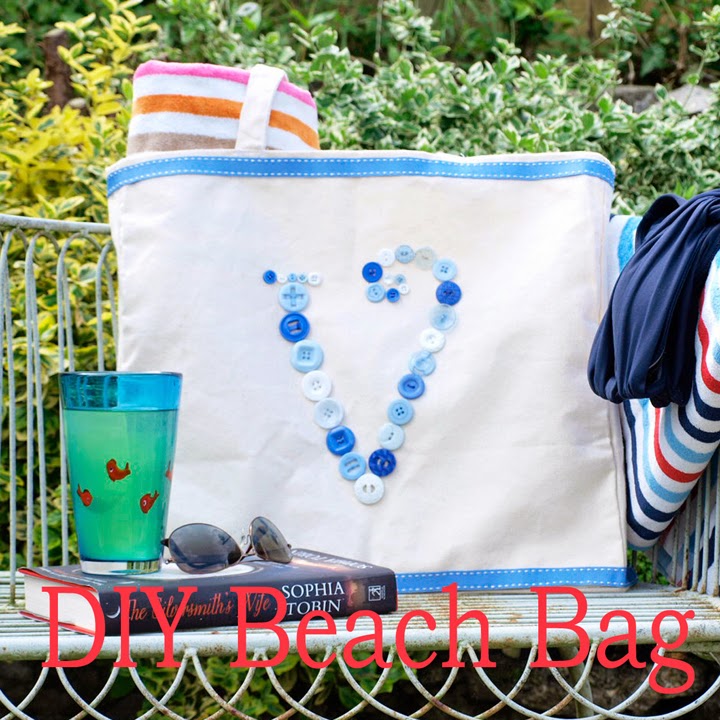
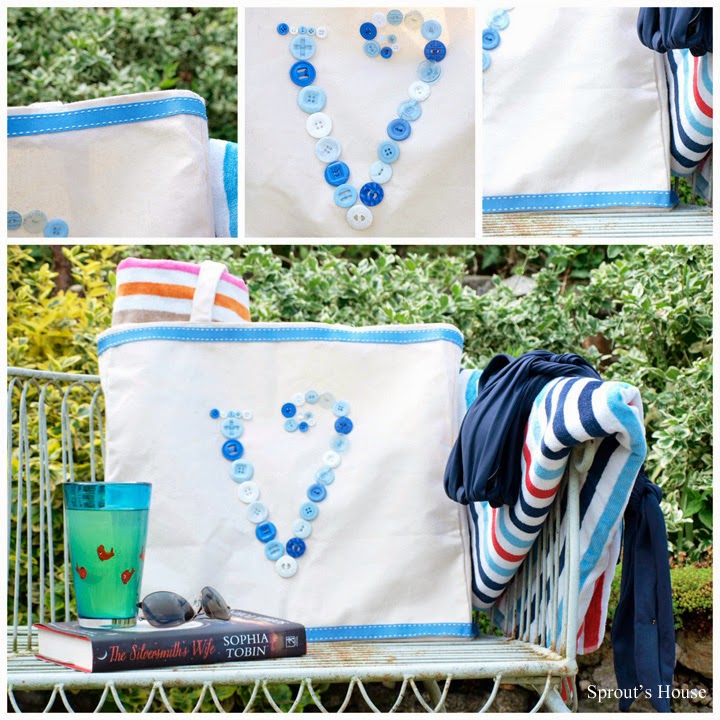
Who's looking forward to going to the beach this summer? How about making a your own personalised beach bag?
Disclaimer: I received free products in return for this post! All opinions are my own.
Thanks so much to Fantastic Ribbons for supplying me with a gorgeous selection of buttons and a roll of grosgrain ribbon.
I don't know about you, but here at Sprout's House we are counting down the days until we can feel the sand between our toes, build some sandcastles and just generally catch some rays. So what better way to get in the mood than make a beach bag - perfect to carry all those beach essentials!
Equipment:
selection of buttons - my packet contained about 150 buttons in a range of sizes, patterns and colours.
3m of ribbon - I used a roll of Peacock Blue Side Stitched Grosgrain ribbon.
1 canvas tote bag
PVA glue and small brush
selection of thread to match your buttons
pins
needle
A4 paper
1. Open Word, type your chosen initial. Choose your font and enlarge the letter until it fills the page. Print out.
(I narrowed it down to the three fonts above before choosing the middle one.
From left to right ~ Contribute - Free Version size 560 Bold; Harrington size 840 Bold; Lucida Calligraphy size 560 Bold)
2. Cut out the inside of the letter so that you're just left with an outline.
3. Place the outline on your bag. Choose the buttons you're going to use and arrange them inside the letter.
4. Carefully lift away the outline. Adjust the buttons if you need to and then start gluing on to the bag. (Don't worry too much about the buttons being completely secure as this is just a temporary measure until they can be sewn in place.)
5. Sew the buttons on. I used coordinating thread, but do whatever you fancy.
6. The next step is to pin the ribbon to the top and bottom of the bag. Decide where you're going to place your ribbon - I left a centimetre gap between the ribbon at the top of the bag, but just matched the ribbon up with the seam at the bottom of the bag. The beauty of this side-stitched grosgrain ribbon is that you can use the side-stitching to help disguise where you have sewn it to the bag.
7. Thread your needle with white thread and knot the end. In position A, push your needle through the ribbon from back to front so that it comes out in position B at the end of one of the side-stitches. Pull the thread through until the knot sits on the back of the ribbon. Tuck any excess thread behind the ribbon so it is hidden.
8. Push the needle back through the ribbon at the other end of the side-stitch (position C) and pick up a little bit of the canvas material before exiting at the beginning of the next side-stitch (position D). Your stitches should be completely hidden by the white stitching on the ribbon.
9.Repeat until both edges of the ribbon are securely attached to the bag. To ensure that the ribbon does not fray fold the end over before stitching into place. Repeat the process for the bottom section of ribbon.
9.Repeat until both edges of the ribbon are securely attached to the bag. To ensure that the ribbon does not fray fold the end over before stitching into place. Repeat the process for the bottom section of ribbon.
10. Fill your bag and head to the beach!
How are you preparing for Summer?
Why not pop over to Fantastic Ribbons for some more inspiration?
Why not pop over to Fantastic Ribbons for some more inspiration?
Sprout’s House
xox


