![spring-wreath-title]()
I've been wanting to make my own spring wreath for awhile now, but due to the cold weather of the past few months I had to put this project on hold. I was so excited this past week when the temperature was in the 70's! It was so gorgeous outside that there was not way I was going to stay cooped up in the house all day.
Thankfully I remembered that I wanted to try my hand at a "natural wreath", and it soon became a wonderful a day :)
All you need for this project is:
- a wreath frame (they range in price from $2 to $10 depending on where you go)
- long vines or thin, pliable branches
- twine
- a little bit of patience
- and pixie dust (just kidding ;)
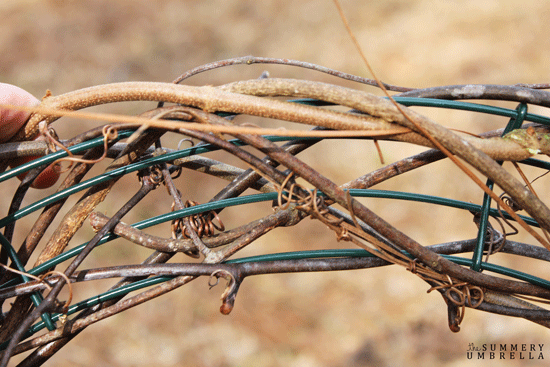
Below you'll see a picture of the wreath frame that I used. I almost forgot to take a beginning picture. Oops!
![spring-wreath-9]()
This was my first time making a natural wreath so I just twisted and tried a few different techniques for wrapping the vines and branches around my frame. Here are a few tips that might also help you if you're interested in making one yourself:
- Try to select vines without thorns. This might seem obvious, but you'll thank yourself for ensuring you have selected vines without them. As Ava would say, "they are just a tiny bit ouchie".
- Select vines and pliable branches that are not completely dead or dried out. They'll just continuously break every time you try to move them around your frame.
- Personally, I wouldn't recommend using a length of more than 3-4 feet at a time. I found it a little frustrating pulling and weaving too much length through my frame. It always seemed to be catching on something.
![spring-wreath-8]()
- Use a nice selection of vines and branches with and without leaves. I realize that the leaves will eventually turn brown and fall off, but for the time being it's so nice to a little bit of color!
![spring-wreath-2]()
- This is essential. Have entertainment while you work ;) Our Sheltie, Kyler, has been obsessed with birds since he was a puppy. Typically he is running around trying to catch our neighbor's guineas, but on this particular morning he was as happy as clam playing "guard duty". What can I say? I am easily amused!
![spring-wreath-7]()
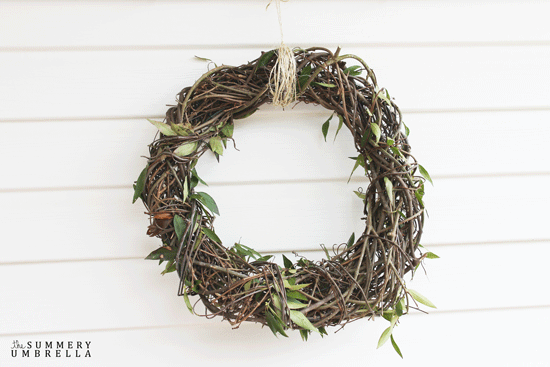
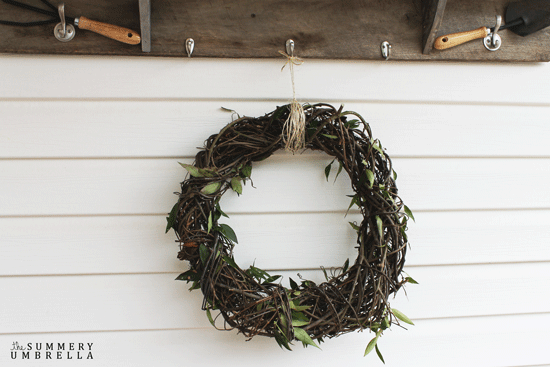
- After you're all done winding, weaving and pulling your ideal amount of vines and branches around your frame determine how you will hang it up. I decided to just use a little bit of twine to so it wouldn't take away from the overall beauty of such a simple design.
![spring-wreath-3]()
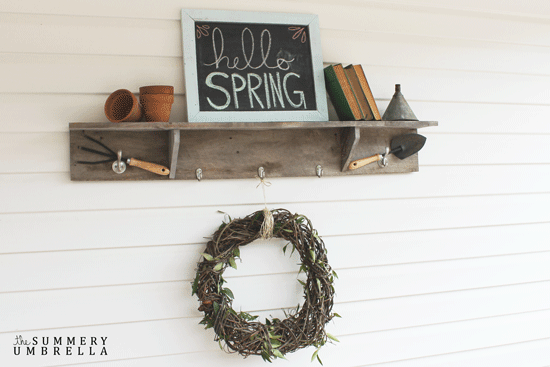
- Last: Enjoy your creation!
![spring-wreath-5]()
![spring-wreath-4]()
![spring-wreath]()
 I've been wanting to make my own spring wreath for awhile now, but due to the cold weather of the past few months I had to put this project on hold. I was so excited this past week when the temperature was in the 70's! It was so gorgeous outside that there was not way I was going to stay cooped up in the house all day.
Thankfully I remembered that I wanted to try my hand at a "natural wreath", and it soon became a wonderful a day :)
All you need for this project is:
 This was my first time making a natural wreath so I just twisted and tried a few different techniques for wrapping the vines and branches around my frame. Here are a few tips that might also help you if you're interested in making one yourself:


