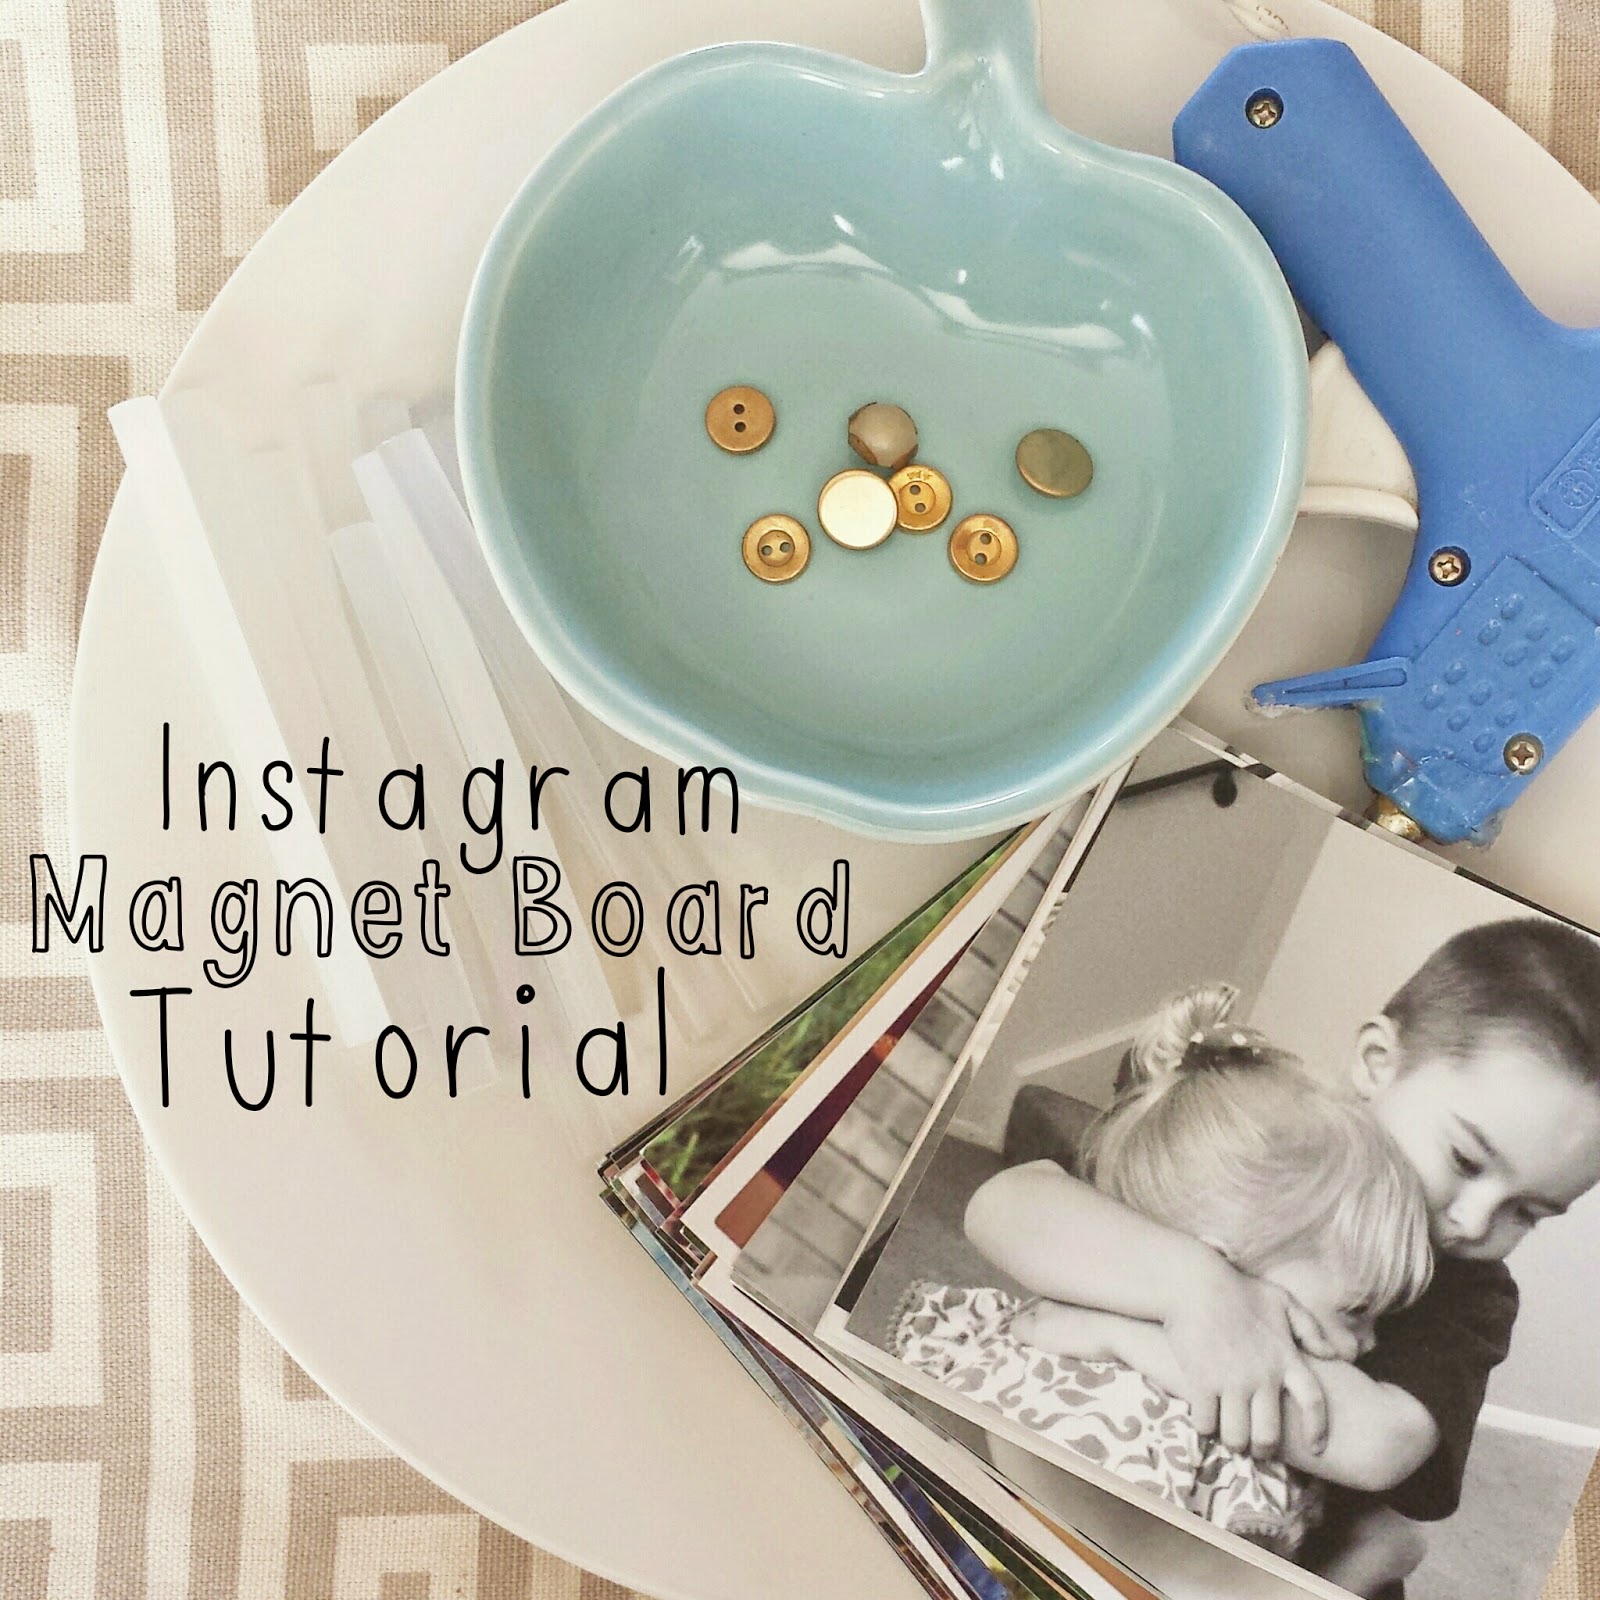
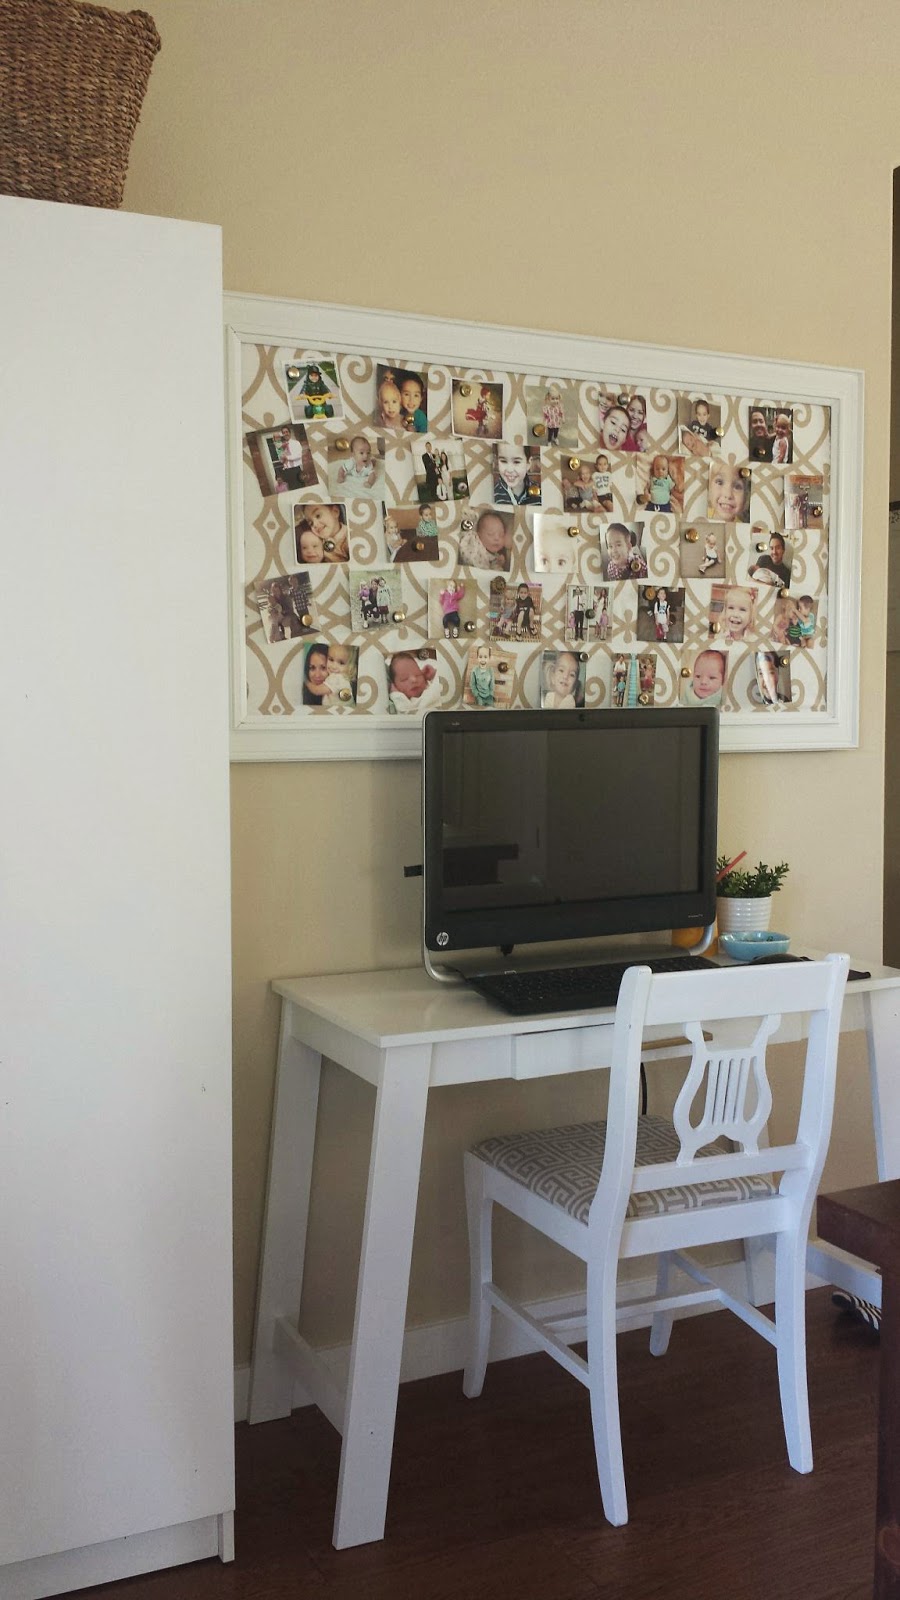
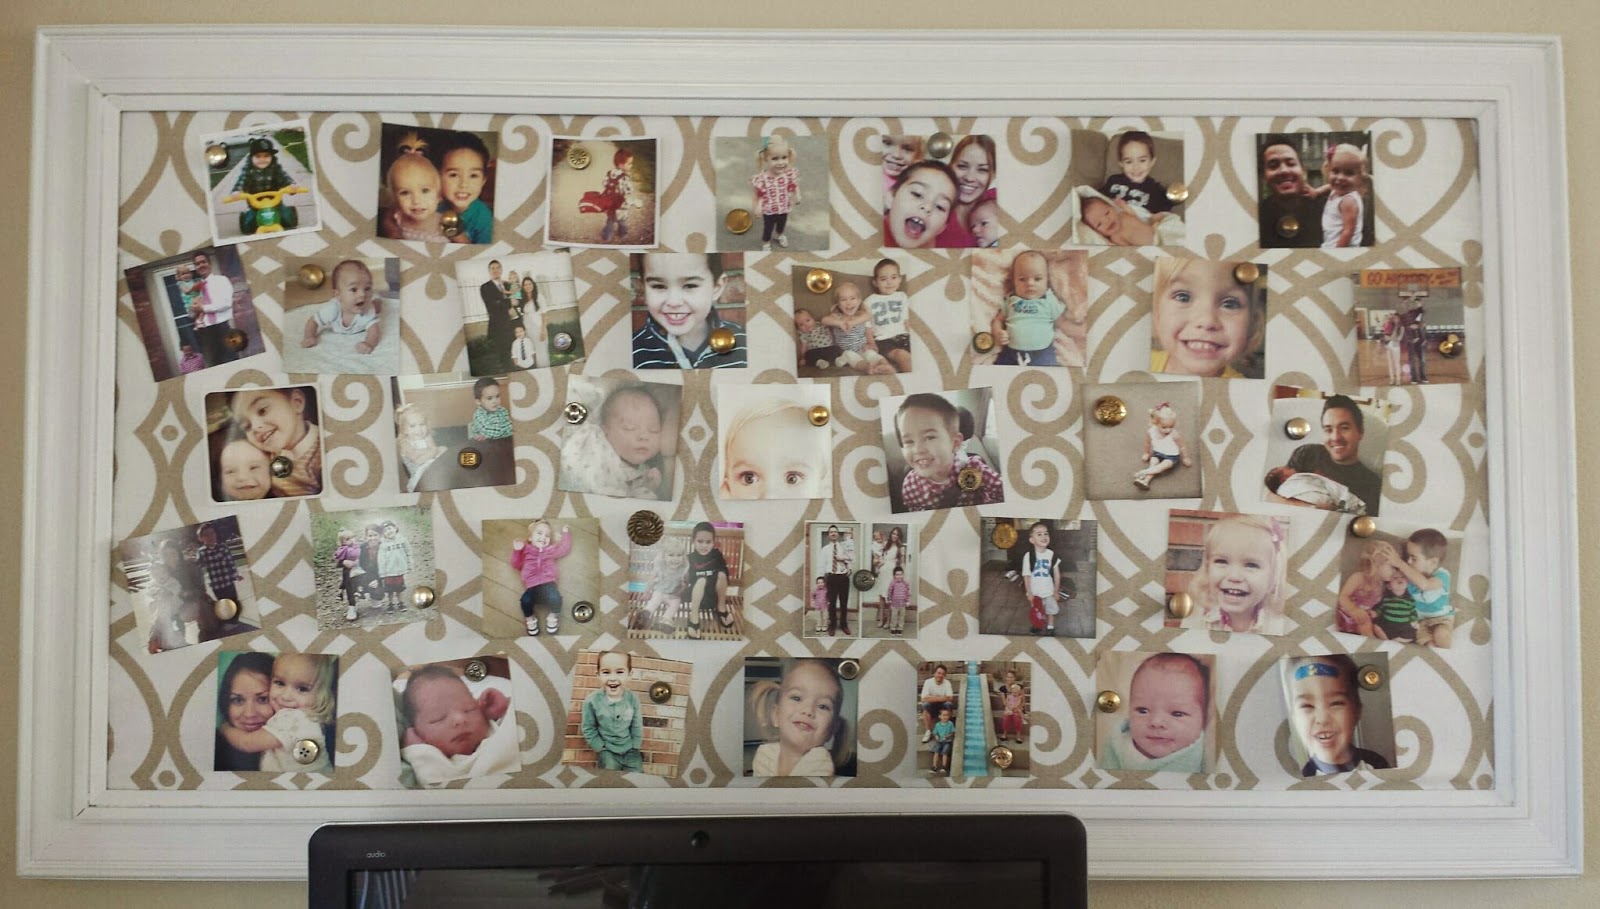
I love Instagram. Actually, it is scary how much I love Instagram. So I decided to print my favorite pictures and display them so I can see them everyday. Since I didn't want to ruin any of my prints with thumbtacks, I decided to go with a magnet board to display them.

Here is what you will need:
1. Frame. I found an old painting at a thrift store for $10 and painted it white.
2. Sheet metal to fit inside the frame. You can buy these at your home improvement store in sheets but they don't cut them for you, so you will most likely need tin snips to crop it down to fit the frame.
3. Fabric to cover the sheet metal.
4. Magnets. Enough for every picture you plan to display.
5. Buttons. Enough for all the magnets.
6. Glue or Duct Tape.


Step 1.
Once you have your metal cut to fit inside your frame, wrap the fabric around the front of the metal (don't put your metal in the frame yet). I used Duct Tape to secure my fabric to the metal, since you won't be able to see it anyways. You can use glue, but I prefer tape because you don't have to wait for it to dry and if you want to change fabrics later, tape will be easier to take off compared to glue.
Step 2.
Next, put the fabric covered metal in the frame and secure it to the frame.
Step 3.
Decorate your magnets. You could just leave them plain but I decided to add a little gold by using vintage buttons. I cut off the backs of the buttons with tin snips, then hot glued them to the magnets.


Finally, hang your frame and you are done!


Original post found here: http://www.heatherhessathome.com/2014/10/diy-instagram-magnet-board-tutorial.html
Heather Hess