These floating shelves serve two purposes. The first being to disguise several necessary, but unattractive items on the main wall you see as you enter the house (this includes the doorbell box, thermostat and kitchen light switch). And, the second being to add a decorative touch to a tall, narrow wall. I found loads of detailed tutorials on how to build and hang floating shelves, so I'm not going to go into depth on areas that have been well-covered already. This tutorial is geared towards creating this specific look. My shelves were made to specific dimensions to fit both the wall and hide the doorbell which made them a little more time-consuming, but this design could easily be adjusted to work with common sized boards (1x2, 1x4, etc.)
Cut List: (for 1 shelf) 2 - 3/4" x 3/4" @ 28" for front trim (I ripped mine from 3/4" stock, but you could substitute with a pre-made square dowel like these @ HD. Just remember that will affect the other cuts.)
4 - 3/4"x 3/4" @ 9.25" (same as above for sub) for side trim
2 - 3/4" Plywood (or other 3/4" stock) @ 4" x 9.25" for sides
2 - 1/4" Plywood (or other 1/4" stock) @ 9.25" x 26.5" for top & bottom
Bunches of 3/4" thick scrap @ 4" x ? Wide pieces to fill in the front. I cut mine from scrap pieces, so the width and number needed will be determined by the scrap used. This is what will determine the height of the shelf, so adjust the length to make the shelf shorter or taller.
4 - 1" x 5" (this was a 1x6 ripped down to a 5" width) @ 8.5" Not shown in photo
1 - 1" x 5" @ 26.5" (this was a 1x6 ripped down to a 5" width) Not shown in photo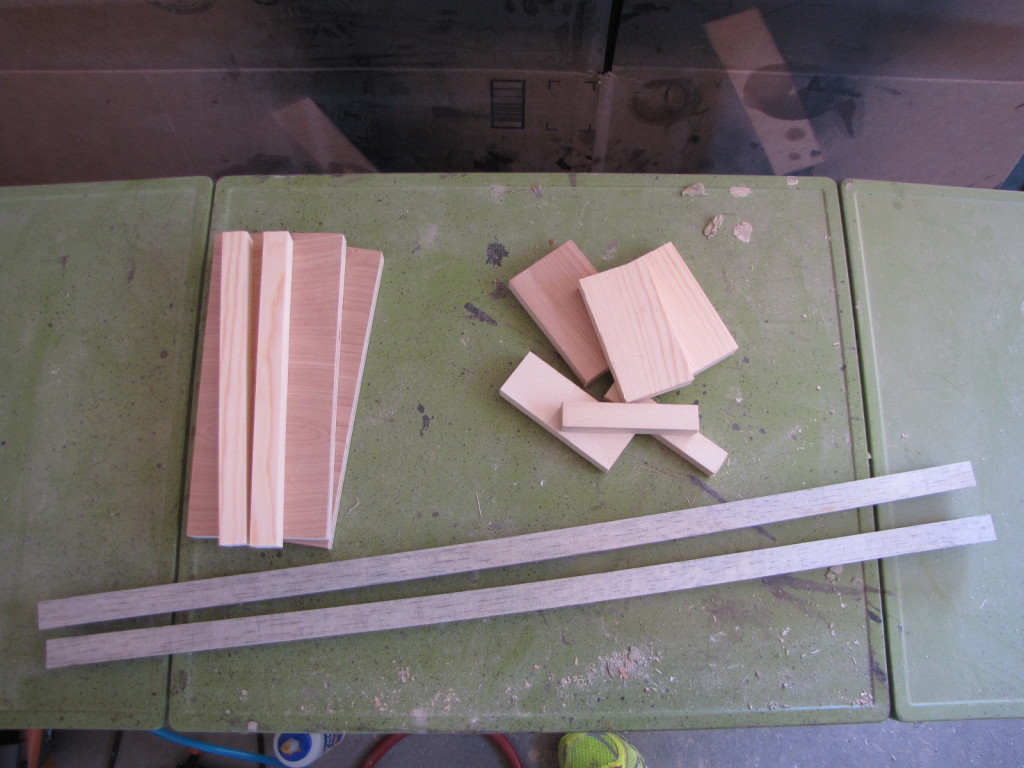 Assembly: Take the two 28" pieces and set them approx. 4" apart from one another. Then take two pieces of the 4" x ? and place one at each end. I matched my end pieces, which isn't important, but it is VERY important to be sure each piece is the exact same length. These two pieces are the starting blocks for the rest of the front. If they do not match (one longer or shorter than the other), it will be impossible to end up with a straight front. I lined each piece up at opposite ends and then nailed and glued into place (1 1/4" nails). Check for square.
 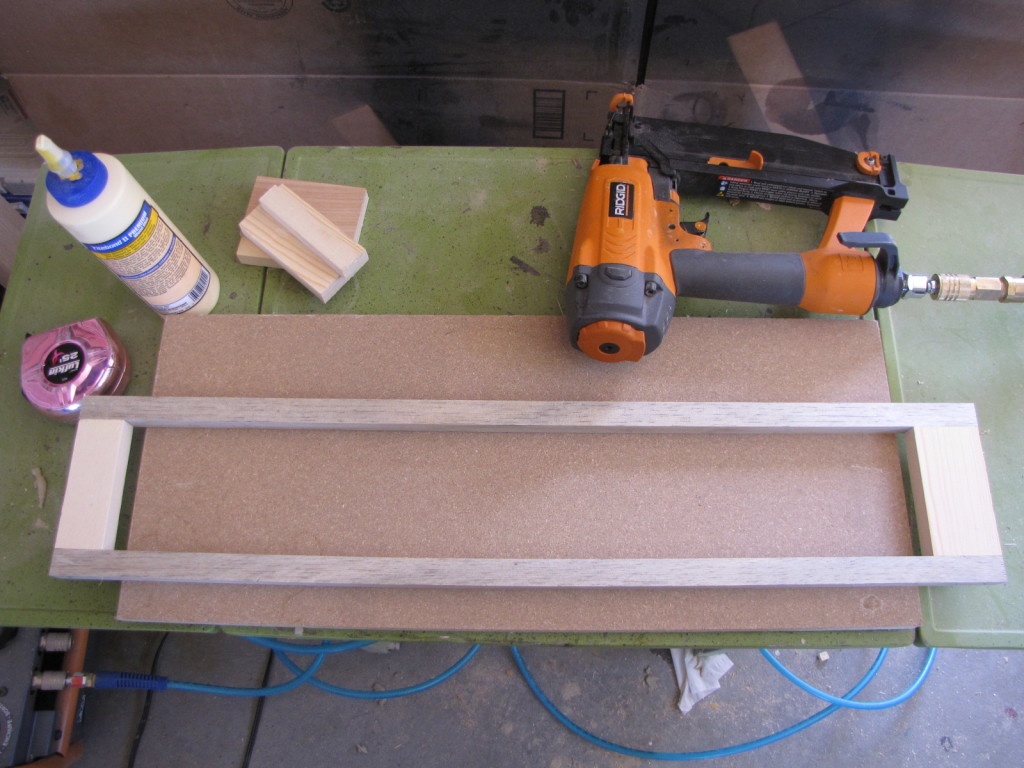 Once those two pieces are in place, it is time to fill in the the rest of the space with 4" pieces. I cut mine as I went, digging through scrap to look for pieces with different grain or coloring.
 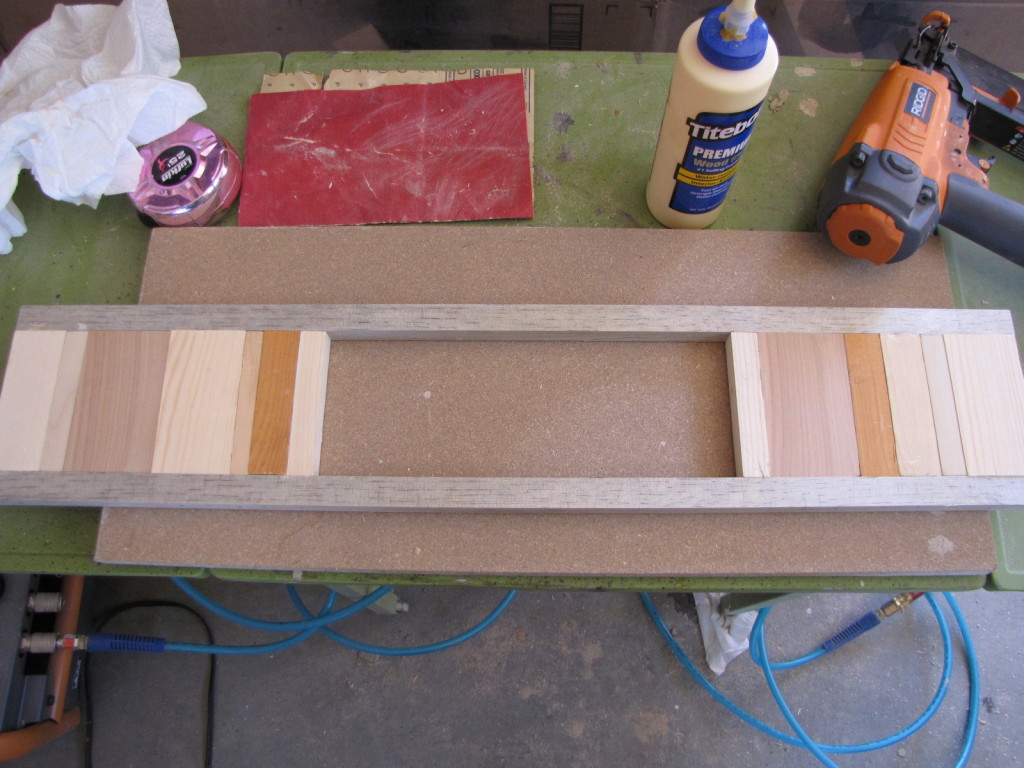 I worked from both ends and randomly checked the distance to be sure everything was still square. Also, if my cuts were a little jagged I rubbed it on some sandpaper before placing it. Each piece was glued and nailed into place. You could probably get away without the glue, but it helps create a nice, strong solid piece when dried.
 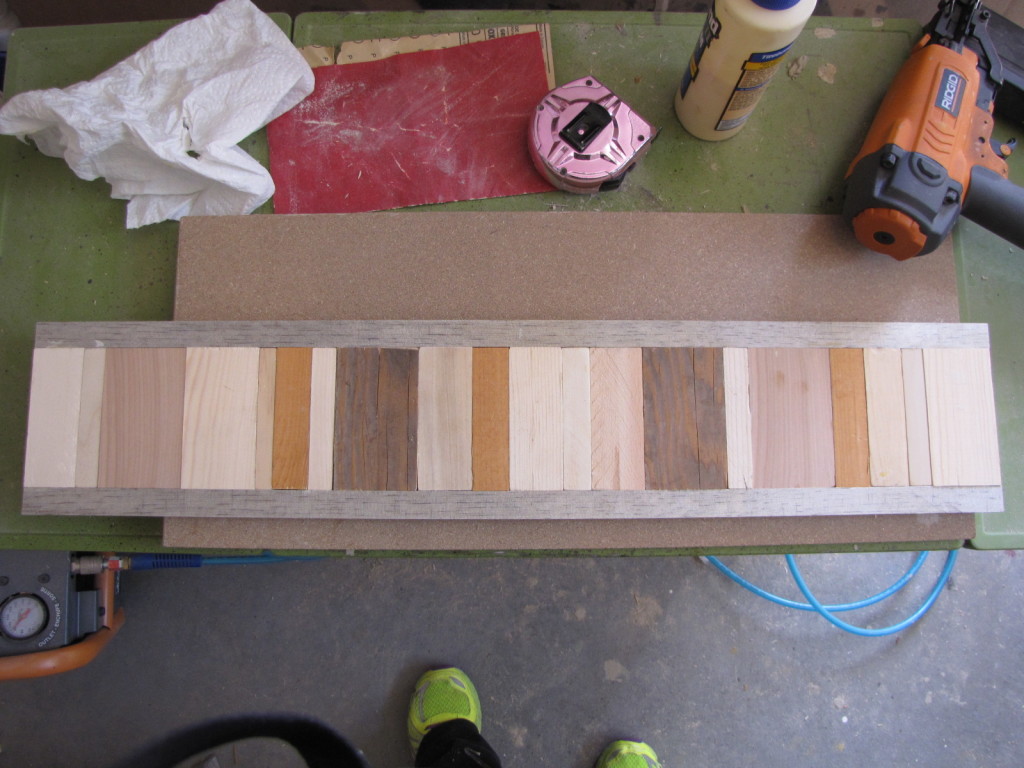 A finished front. Yea! This is the most time consuming part of construction.
 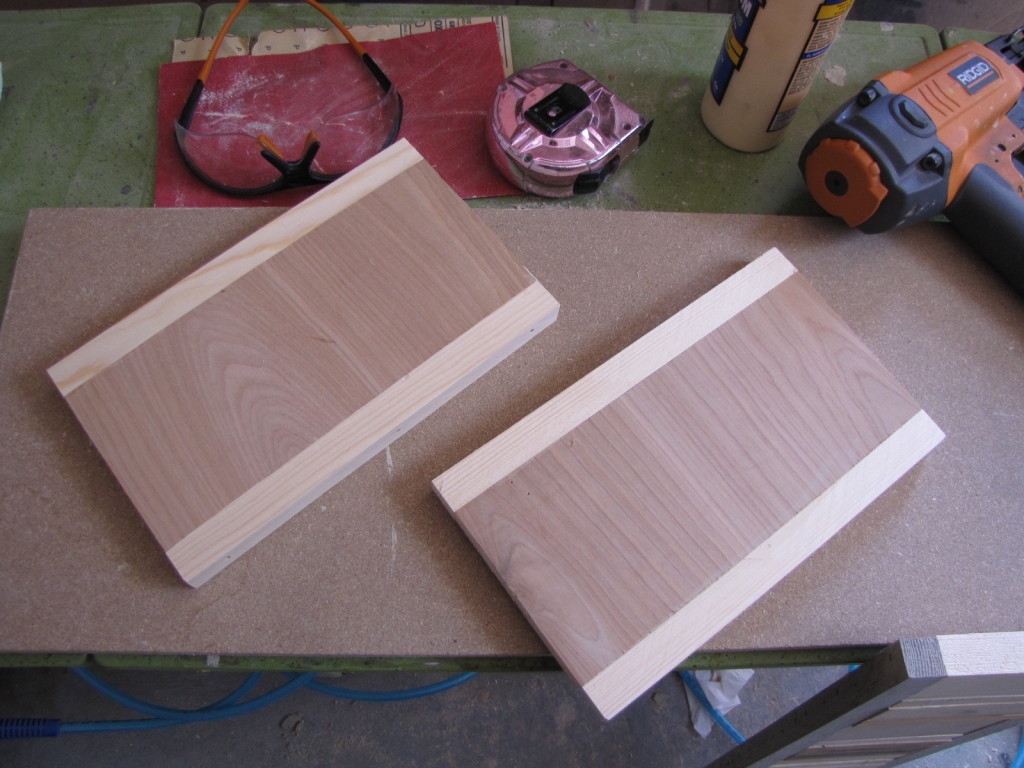 Sides were easy. Take two of the 3/4" x 9.25" trim pieces and attach one to the top and bottom of a 4" x 9.25" side piece. Repeat. Glued and nailed in place. Then drill 3 pocket holes into one inside end of each side.
 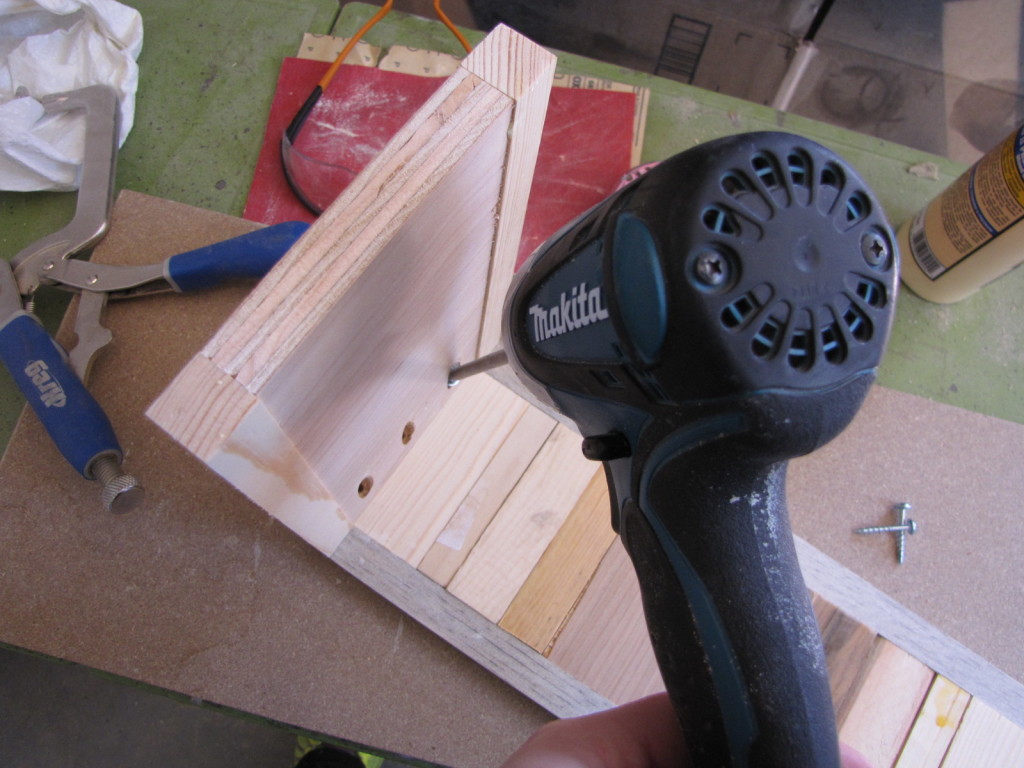 Attach the sides (one of each end) to the back of the front using 1 1/4" pocket hole screws and glue. The sides should be flush to front when attached. My plywood for the sides was just a little bit less than 3/4" thick, so that is why the trim is slightly thicker. This is a scrap wood project after all. :)
 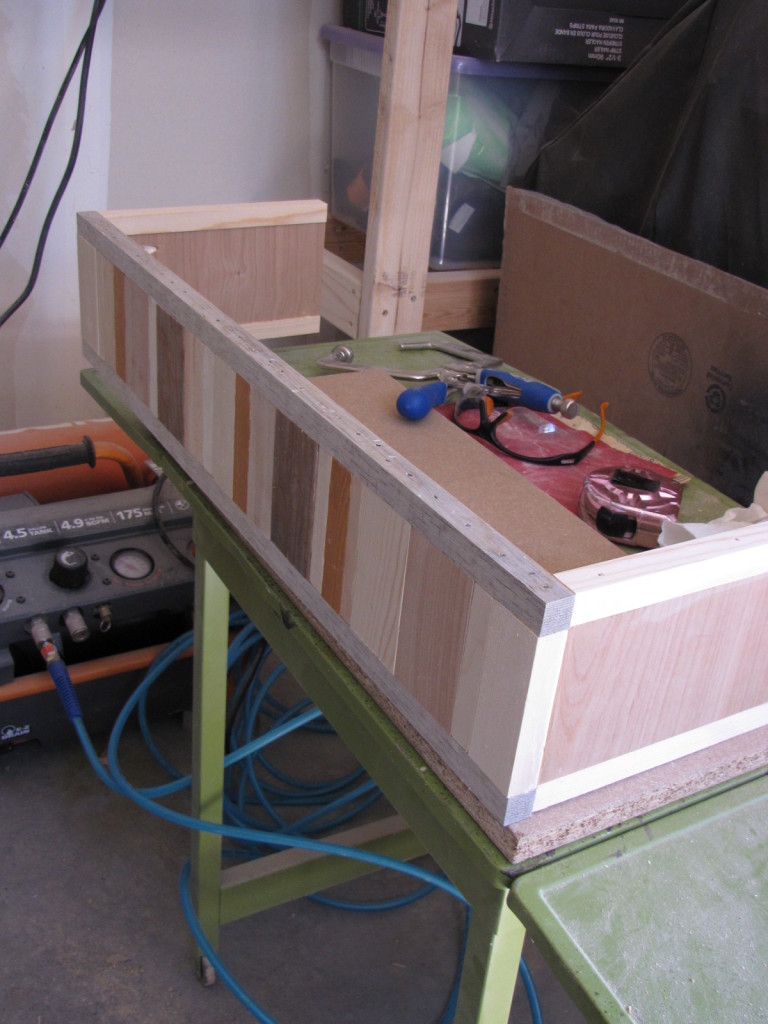 The front and sides are now built. This can be set aside for the moment.
 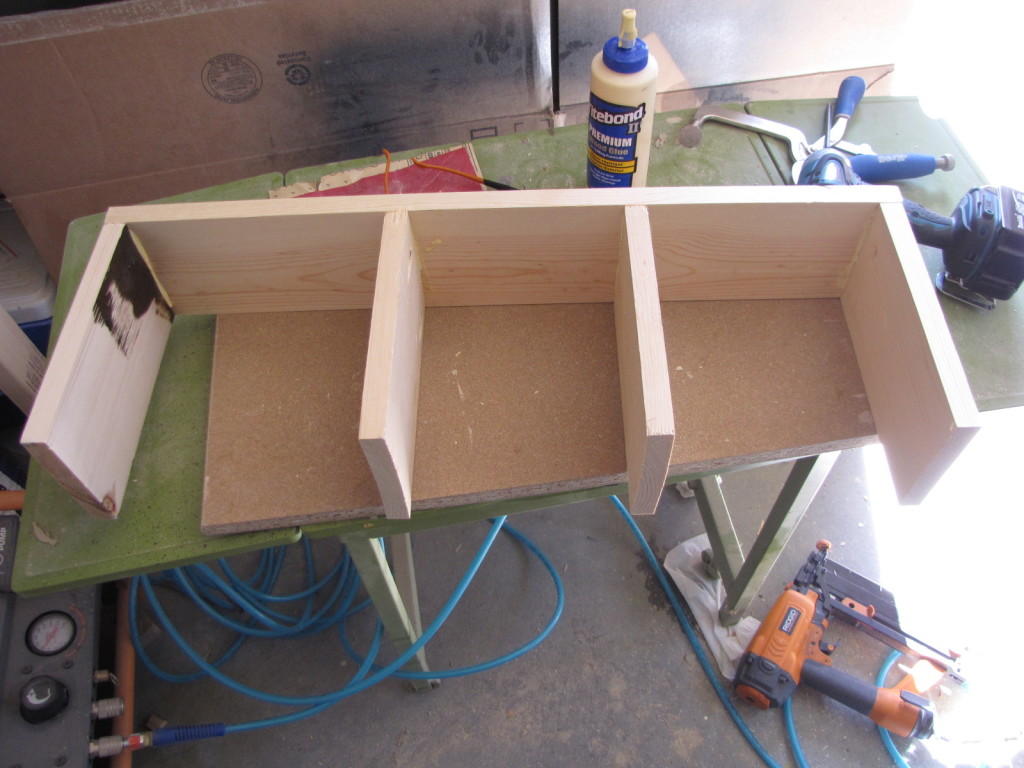 *It is important to do a dry fit of the frame inside the shelf front before assembling this piece. Be sure the 26.5" piece fits inside the front of shelf - if too long it will need to be shortened. Same with the 8.5" pieces. See photo below to help clarify how this will fit inside the front shelf piece. Once the dry fit is completed and any adjustments are made it is time to build the frame for the inside of the shelf. Take the 3/4" x 8.5" pieces and drill pocket holes into one end of each board. Attach the 8.5" pieces to the longer 26.5" piece as shown in the photo above using 1 1/4" pocket hole screws.
  This is how the two pieces should fit together, creating a perfect rectangle.
 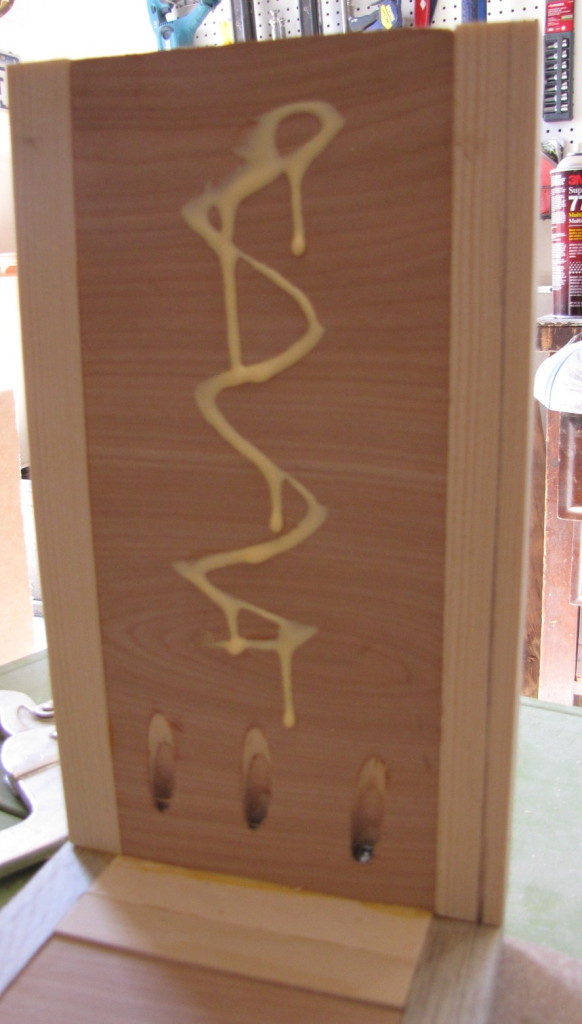 Now I pulled the frame out and marked both the top and bottom of the sides and front shelf a 1/4" in. See my pencil line in the photo above. Do that all around the front and sides. I used a scrap piece of the 1/4" plywood as a guide to create my line. The frame will sit inside these lines leaving a recess for both the top and bottom panels. Without this recess, the top and bottom will not sit flush inside the shelf. After the lines were drawn, I put a liberal amount of glue on the sides of the front shelf (more than what you see in the photo) and then set the frame inside the shelf front. Lined up the top and bottom of the frame to those lines and then nailed into place.
 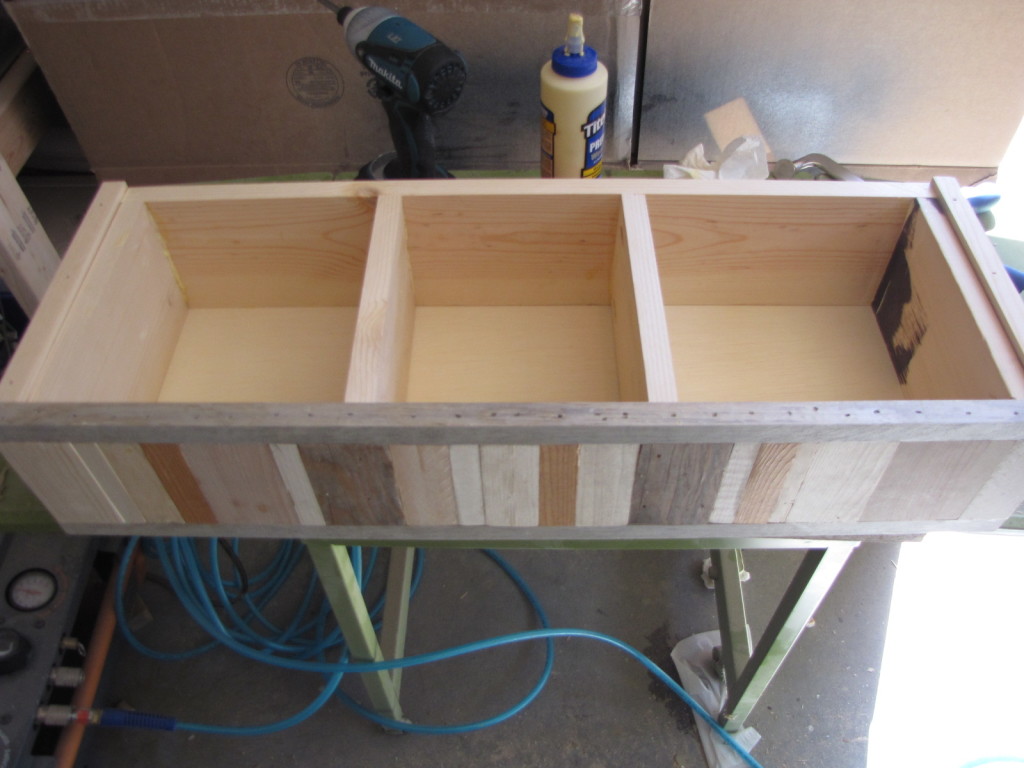 It should look like this now. So close to complete! After looking the shelf over, I decided on a top vs bottom and then took one of the 9.25" x 26.5" panels and placed it on top of the frame inside the shelf. Made sure of a good fit, then pulled it out laid down some glue, replaced it and nailed it into place.
 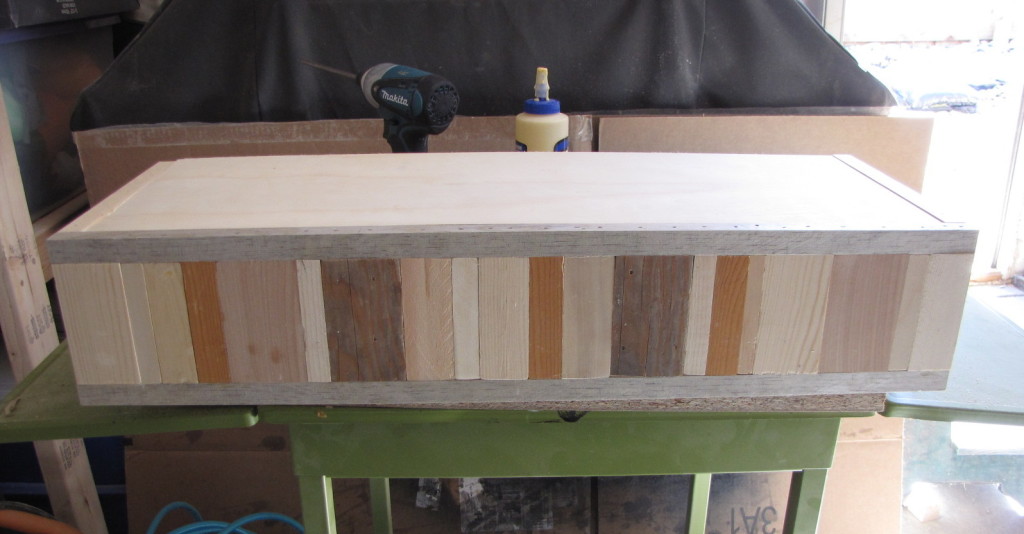 The second 9.25" x 26.5" panel is used for the top panel, but it does not get fastened down. Instead, it sits loose inside the top of the shelf to allow for easy installation and removal of the shelf. Because of the 1/4" recess created the top will not slide around and will sit flush with the top of the shelf front.
 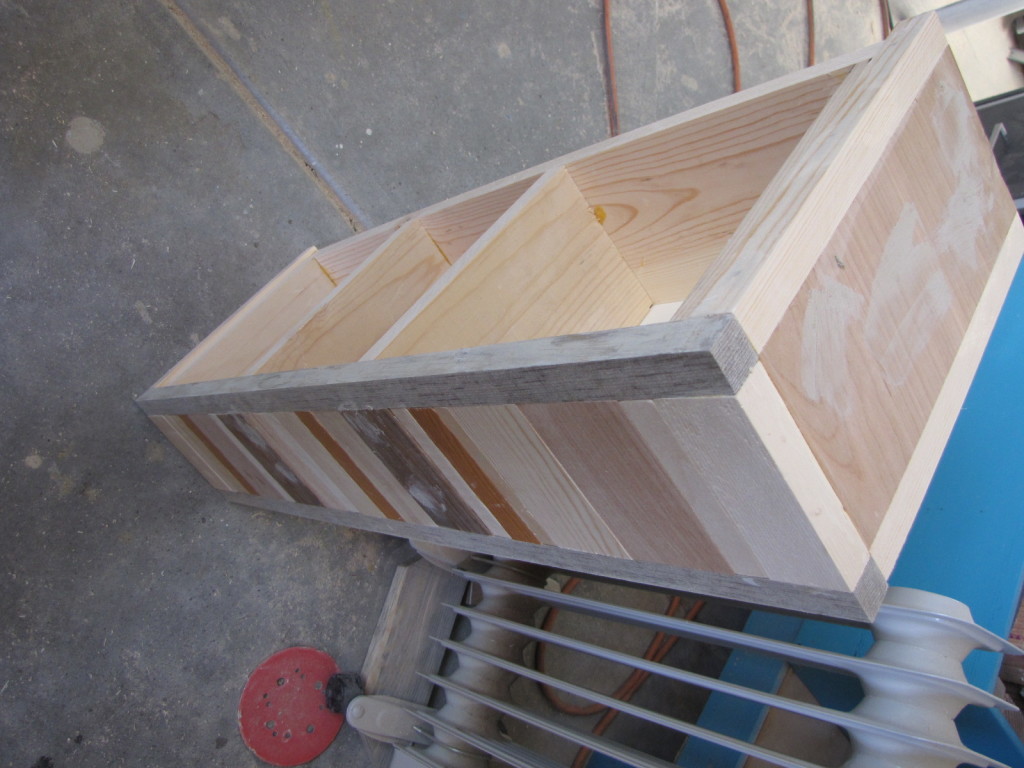 Then I filled all the nail holes with wood filler, waited for it to dry before sanding and sanding some more.
 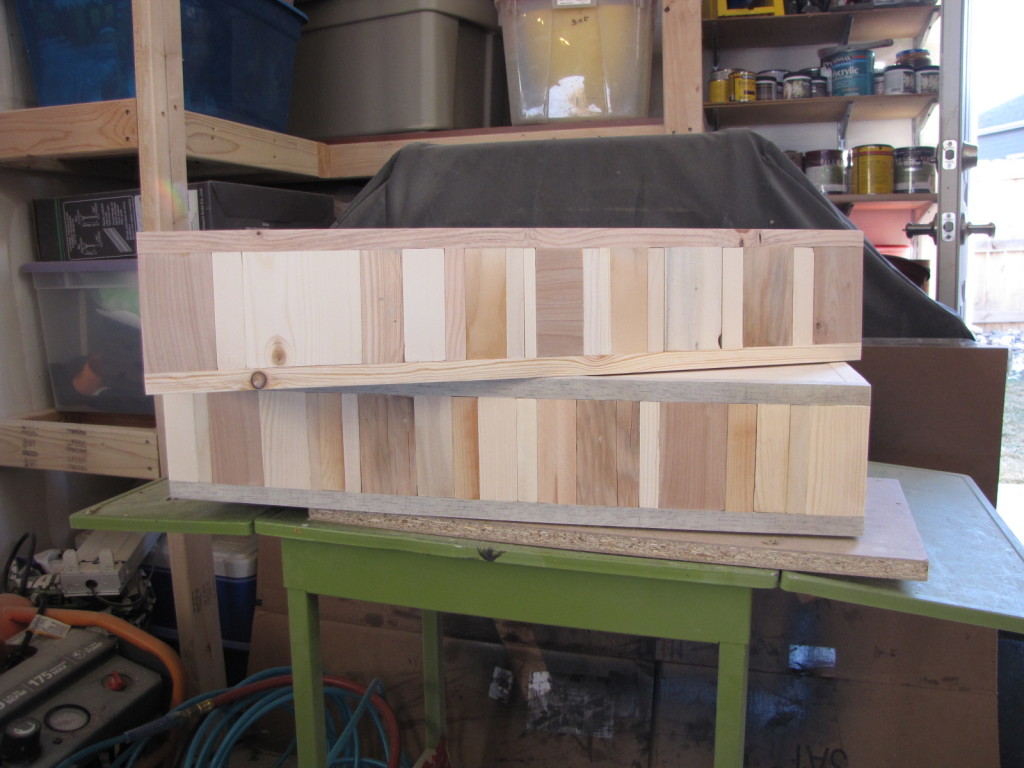 And, then I did it all over again. :) These two were actually built after my test shelf from the day before. The first shelf took twice as long and a few lessons were learned.
 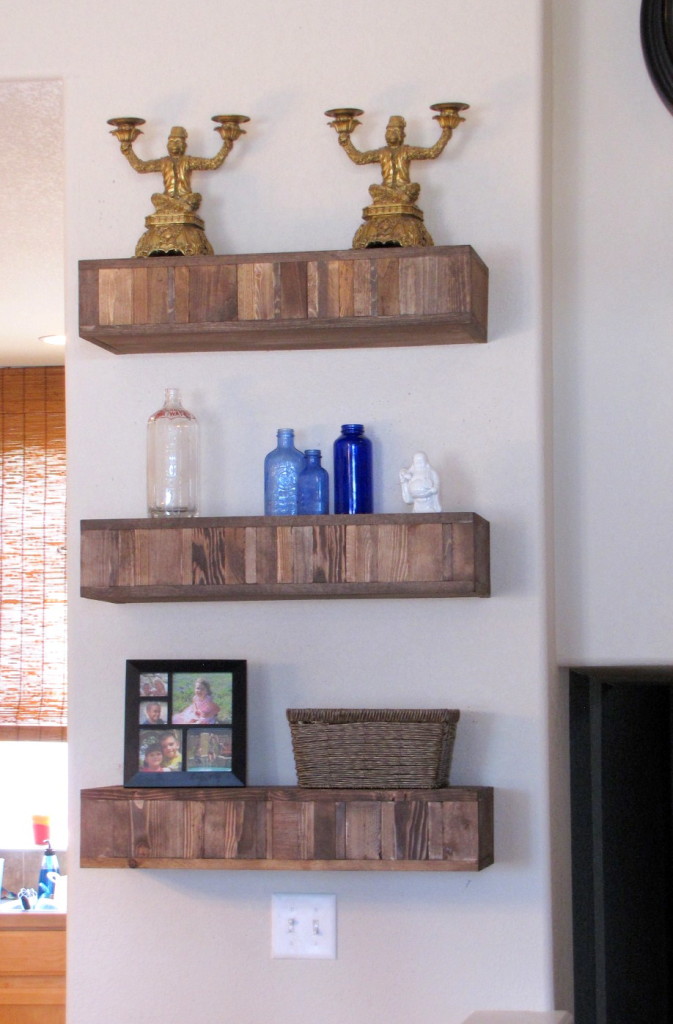 The finished shelves. I just threw some items up there so they wouldn't be bare in the photos, although my crazy monkey candle holders may be permanent fixtures up there :). I used Minwax in Special Walnut for all 3 shelves. I haven't applied any poly yet, but will most likely go with a satin finish. The shelves were screwed into the studs through the back and then the top panel placed on top to hide everything. Like I mentioned previously there are a ton of tutorials for floating shelves and if you want more details on how to hang, this is good tutorial here.
  My favorite thing about these shelves is that they are all unique in some way. The size and shape are the same, but the detail on the front makes them just a little different from one another which gives them a little character. As excited as I am to have the shelves up and the doorbell box hidden looking at these pictures really gives me a very strong urge to paint the walls anything other than builder beige.